

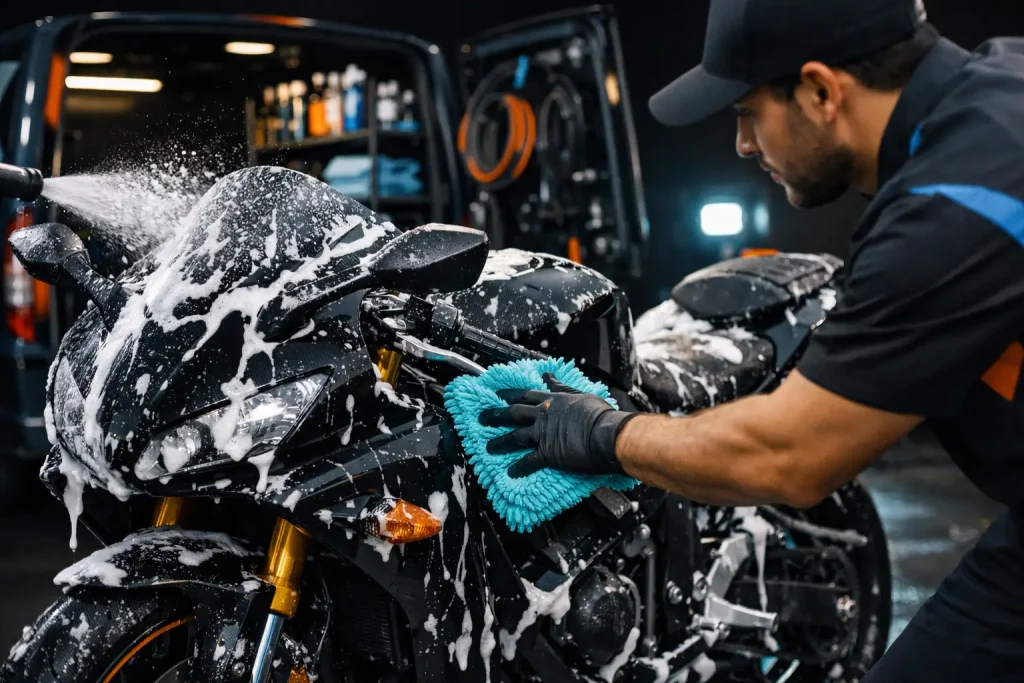
A motorcycle can look clean after a quick rinse yet still carry water inside connectors, grit around seals, and detergent residue on the paint. Knowing how to wash motorcycle safely means treating more than the visible panels. The goal is a spotless finish without creating corrosion, dulling protective coatings, or sending high-pressure water where it does not belong.
For most riders, a careful wash takes far less time than correcting water spots, oxidized metal, or electrical issues later. Work methodically, use products designed for automotive finishes, and give the bike time to dry properly before the next ride.
Start With the Right Conditions
Never wash a motorcycle immediately after riding. Hot exhaust headers, brake discs, engine covers, and paint can react badly to cold water, while cleaner can dry almost instantly on a warm surface. Park in the shade, let the motorcycle cool completely, and avoid washing in direct midday sun.
This matters even more in warm, dusty conditions. Heat bakes road film onto paint and chrome, while mineral-rich water can leave stubborn spots if it dries too quickly. A shaded space and a cool motorcycle give you control over the entire process.
Before applying water, inspect the bike for loose accessories, damaged rubber boots, exposed wiring, or areas that need a gentler touch. If your chain is due for service, washing is a good opportunity to clean it correctly before applying fresh lubricant.
What You Need for a Safe Motorcycle Wash
Premium results do not require a shelf full of products, but the wrong tools can mark paint or strip protection. Set out what you need first so you are not leaving water to dry while searching for a towel.
- pH-balanced motorcycle or car shampoo
- Two buckets, ideally with grit guards
- A soft wash mitt and separate detailing brushes
- A low-pressure hose or gentle spray nozzle
- Clean microfiber drying towels
- Chain cleaner and motorcycle-specific chain lubricant, if needed
Avoid household dish soap, harsh degreasers, rough sponges, and old bath towels. Dish soap can remove wax and dry out finishes. A rough sponge traps grit against the paint, creating the fine scratches that make a glossy tank look flat in sunlight.
How to Wash Motorcycle Safely, Step by Step
1. Rinse away loose dust and grit
Begin with a gentle rinse from top to bottom. The purpose is not to blast the motorcycle clean. It is to soften and remove loose dust, sand, and road debris before your wash mitt touches the surface.
Keep the spray away from the instrument cluster, switchgear, air intake, wheel bearings, chain seals, and electrical connectors. Do not direct water into the exhaust outlet. A garden-hose style rinse is usually enough, and it is safer than treating your motorcycle like a driveway floor with a powerful pressure washer.
If you use a pressure washer, stand well back and use a wide fan setting. High pressure can force water past seals, lift decals, damage radiator fins, and drive contamination into sensitive areas. It can be useful for muddy tires and lower sections, but it is rarely the best choice for close-up work.
2. Clean the dirtiest areas first
Wheels, tires, lower forks, swingarm areas, and the underside collect the heaviest grime. Use a dedicated soft brush for these areas, never the same mitt that will touch painted panels. This simple separation prevents brake dust and abrasive road grit from being transferred onto the tank or fairings.
Use a mild wheel-safe cleaner only when necessary. Brake components and wheel finishes vary, so aggressive chemicals can do more harm than good. Rinse each area before the product dries, especially around calipers and spokes.
For the chain, follow the motorcycle manufacturer’s guidance. Apply a chain-safe cleaner to a cloth or suitable brush, rotate the rear wheel by hand with the engine off, and remove old lubricant and grime carefully. Never run the engine while cleaning the chain. It is an unnecessary injury risk and offers no advantage over patient hand rotation.
3. Wash painted panels with the two-bucket method
Fill one bucket with clean rinse water and the other with diluted pH-balanced shampoo. Load the wash mitt with soapy water, clean one small section with light, straight passes, then rinse the mitt thoroughly in the clean-water bucket before returning it to the shampoo.
Start with the cleanest, highest surfaces: windscreen, tank, front fairing, seat cowl, and upper side panels. Move downward as you go. Let the shampoo do the work instead of pressing hard, particularly on gloss black paint, matte finishes, decals, and clear plastic.
Matte paint deserves special care. Do not use waxes, polishes, or products made to add shine unless they are specifically approved for matte surfaces. Those products can leave uneven glossy patches that are difficult to reverse.
4. Treat delicate details with restraint
Use a soft detailing brush around badges, radiator guards, foot controls, and tight panel gaps. Keep water exposure limited around the ignition, dashboard, handlebar controls, and electrical connections. Wipe these areas with a damp microfiber rather than soaking them.
The engine bay and exhaust area can be cleaned with a lightly damp cloth and a mild cleaner suitable for metal and painted surfaces. Heavy degreasing should be occasional, targeted work – not part of every routine wash. Too much product around the engine can leave residue, affect protective finishes, and create smoke or odors when the bike heats up.
5. Rinse thoroughly, then dry immediately
A complete rinse is essential because dried shampoo residue can leave streaks and dull the finish. Use low pressure and work from the top down again. Check around mirrors, under the seat edge, behind the license plate, and inside fairing openings where suds can hide.
Dry the motorcycle immediately with clean microfiber towels. Pat and glide rather than rubbing aggressively. Use a separate towel for wheels, tires, and exhaust components so that road contamination stays away from paint.
Compressed air or a blower can help remove trapped water from tight spaces, but use it carefully around decals and exposed electrical areas. If you do not have one, gently roll the motorcycle a short distance and lightly operate the brake and clutch levers to help release water from moving components. Wipe away drips as they appear.
Finish With Protection, Not Just Shine
Once the bike is dry, a quality protectant can make future washes faster and preserve the finish between rides. Choose protection that matches the surface: paint sealant or wax for gloss paint, a dedicated matte protectant for matte panels, and suitable conditioner for rubber or unpainted trim.
Do not apply dressing, wax, or silicone spray to tires, brake discs, brake pads, grips, footpegs, or the seat. A glossy tire may photograph well, but slippery rubber and riding surfaces have no place on a motorcycle.
If you cleaned the chain, allow it to dry and apply the correct lubricant to the inside run of the chain. Use only enough product to coat it properly, then wipe excess from the outer plates. Overspray attracts dirt and can reach the rear wheel or tire.
Common Mistakes That Turn a Wash Into a Repair Job
The biggest mistake is rushing. Washing a hot motorcycle, letting soap dry, or using one dirty sponge everywhere can quickly compromise a premium finish. Another common issue is using too much pressure around bearings, seals, and electronics. More force does not equal a better wash.
Be equally careful with aftermarket accessories. Exposed filters, auxiliary lights, custom seats, wrapped panels, and ceramic-coated surfaces may need a different approach than factory components. When in doubt, use less water, milder products, and a soft microfiber first.
A professional doorstep motorcycle service is a practical option when you want the finish, protection, and detail work handled without sacrificing your weekend. Ride Revivers brings trained care directly to your location, with the products and process needed to revive the look of your motorcycle while respecting its sensitive components.
Your motorcycle does not need an aggressive wash to look exceptional. It needs cool surfaces, clean tools, gentle technique, and a few extra minutes spent drying the areas most riders overlook. That care keeps every detail ready for the next ride.