

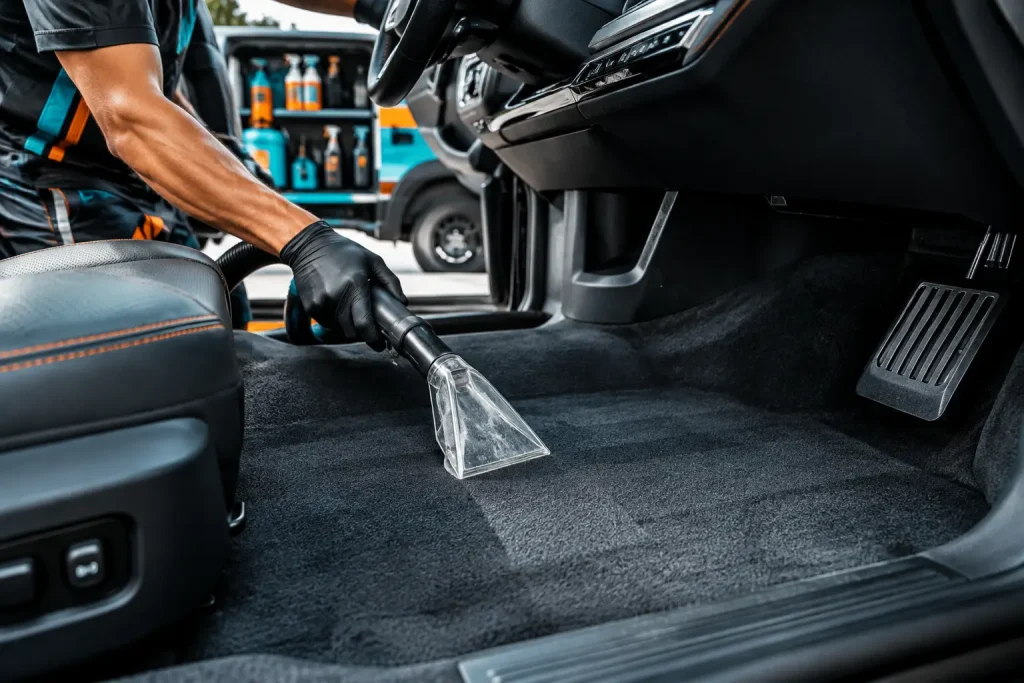
Sand in the footwells, coffee near the console, and a faint odor after a busy week can make an otherwise clean cabin feel neglected. Knowing how to clean car carpets properly is less about using more product and more about using the right sequence. The goal is a fresh, revived interior without soaking the padding, setting a stain, or leaving behind a sticky residue that attracts dirt again.
Carpet care also protects the part of your vehicle that takes the most daily abuse. Shoes bring in grit, moisture, food crumbs, and oils that work their way into the fibers. Treating those areas early keeps your interior looking sharper, feeling cleaner, and easier to maintain between professional appointments.
How to Clean Car Carpets: The Right Order
The most common mistake is spraying cleaner directly onto a dirty carpet before removing loose debris. That turns dry dust and sand into mud, pushes dirt deeper into the pile, and makes extraction harder. Start dry, clean in controlled sections, and allow enough time for the carpet to dry fully.
For a home clean, you will need a strong vacuum with a crevice attachment, clean microfiber towels, a soft interior brush, a carpet-safe cleaner, and a small amount of clean water. An upholstery extractor can improve results, especially for family vehicles, but it is not essential for light maintenance.
Remove mats and clear the cabin
Take out the floor mats first. Shake them outside and set them aside for separate cleaning. Then remove bottles, toys, charging cables, and anything under the seats. This gives you access to the areas where debris collects and prevents a missed patch around the seat rails.
If your mats are carpeted, vacuum both sides before cleaning them. Rubber or all-weather mats can be rinsed, brushed, and dried separately. Never put wet mats back over freshly cleaned carpet, as trapped moisture can create a stale smell.
Vacuum slowly before using any cleaner
Vacuum every section of the carpet, including beneath the front seats, along the door sills, around the pedals, and at the edges of the rear bench. Use the crevice tool for seams and tight areas. A slower pass lifts far more embedded grit than a quick once-over.
For stubborn dust, gently agitate the carpet with a soft brush while vacuuming. Do not use a hard brush or aggressive pressure. Modern automotive carpeting can fray or lose its texture when scrubbed too harshly.
Test the cleaner in a hidden spot
Choose a carpet cleaner made for automotive interiors, then test it under a seat or in another concealed area. This small step matters when dealing with light-colored carpet, dyed fibers, or older interiors. If the color transfers to your towel or the surface changes after drying, stop and use a gentler product.
Follow the dilution instructions if the cleaner is concentrated. Stronger is not always better. Excess product can leave a residue that feels stiff underfoot and causes the carpet to get dirty faster.
Treat stains by type, not by force
Spray cleaner onto a microfiber towel or lightly onto the stain rather than saturating the entire area. Let it dwell briefly, then blot from the outside of the stain toward the center. This contains the spill instead of spreading it across the carpet.
Coffee, juice, and food stains usually respond well to a carpet-safe cleaner and repeated blotting. For oily marks, use a product designed to break down grease, but apply it sparingly. For mud, allow it to dry completely first, vacuum away as much as possible, then clean what remains.
Avoid household dish soap, laundry detergent, bleach, and heavy fragrance sprays. They may seem convenient, but they can leave residue, affect carpet color, or mask an odor without removing its source. If a stain has already dried or has been treated repeatedly, patience and multiple light passes are safer than aggressive scrubbing.
Agitate gently and extract the moisture
Use a soft brush to work the cleaner into the fibers with short, light strokes. Focus on the stained patch, heel marks, and high-traffic areas rather than wetting the entire cabin floor. Then blot with a clean, dry microfiber towel until it picks up little to no moisture.
If you have an extractor, use it with minimal water and make several dry passes afterward. The dry passes are where much of the moisture is removed. Leaving the backing and padding wet is the fastest way to create mildew risk, especially in humid conditions.
Drying Car Carpets Without Creating Odors
A carpet can look clean and still cause problems if it dries poorly. After cleaning, leave the doors or windows open in a secure, well-ventilated space. Run the vehicle’s air conditioning or fan for a short period if needed, and avoid placing mats back until the carpet feels dry to the touch.
In Dubai, heat can speed up surface drying, but it does not guarantee that the layers beneath are dry. Do not close the car immediately after a deep clean just because the top fibers feel dry. Check the carpet by pressing a clean towel firmly into the area. If the towel picks up moisture, it needs more airflow.
Avoid parking under direct, intense sun with the windows closed to force drying. Excess heat can create a trapped, humid cabin and may leave cleaning chemicals smelling stronger. Shade and ventilation are the better combination.
Handling Odors at the Source
Carpet odor usually has a cause: a spilled drink, damp mats, pet accidents, food under a seat, or moisture trapped beneath the carpet. Air freshener can improve the cabin temporarily, but it cannot solve contamination in the fibers or padding.
Start by inspecting the carpet and mats closely, including the rear footwells and trunk. If the carpet is damp after rain or a wash, look for a leak around door seals, sunroof drains, or the trunk seal. Cleaning the carpet without addressing incoming moisture will only repeat the problem.
For mild odors, a thorough vacuum and controlled carpet cleaning may be enough. Persistent smells, visible mold, or a spill that reached the padding need deeper treatment. This is where professional interior detailing has an advantage: trained technicians can inspect the source, use appropriate extraction equipment, and clean deeply without over-wetting the cabin.
When DIY Cleaning Is Not Enough
At-home maintenance works well for routine dust, light spills, and fresh marks. It becomes less effective when stains are old, the carpet feels crunchy from past products, or odor returns after the cabin has dried. Flooding, milk spills, pet accidents, and heavy sand buildup also require more than surface cleaning.
Professional service is particularly useful for vehicles with children, frequent passengers, or high daily use. A premium interior treatment can revive carpet fibers alongside seats, trim, mats, and hard-to-reach areas, giving the entire cabin a consistent finish rather than a clean patch surrounded by neglected surfaces.
Ride Revivers brings that level of interior care to your doorstep, which means you do not have to spend a weekend managing equipment, drying time, and cleanup. For regular upkeep, though, a careful vacuum and prompt stain treatment will make each deeper service more effective.
Keep Carpets Cleaner Between Deep Cleans
The easiest carpet to clean is one that never gets heavily soiled. Empty loose items from the cabin once a week, vacuum high-traffic areas regularly, and clean spills as soon as they happen. If your routine includes beach trips, school runs, gym visits, or outdoor activities, check the mats before sand and moisture migrate into the carpet.
Consider using fitted all-weather mats during the messiest months or for vehicles that carry children and pets. They will not replace carpet care, but they reduce the amount of grit and moisture that reaches the factory flooring. Just remember to clean beneath them too.
A clean car carpet changes the whole feel of the cabin: it looks cared for, smells fresher, and supports the polished standard you expect every time you open the door. Treat small messes early, use less moisture than you think you need, and let the carpet dry completely before the next drive.