

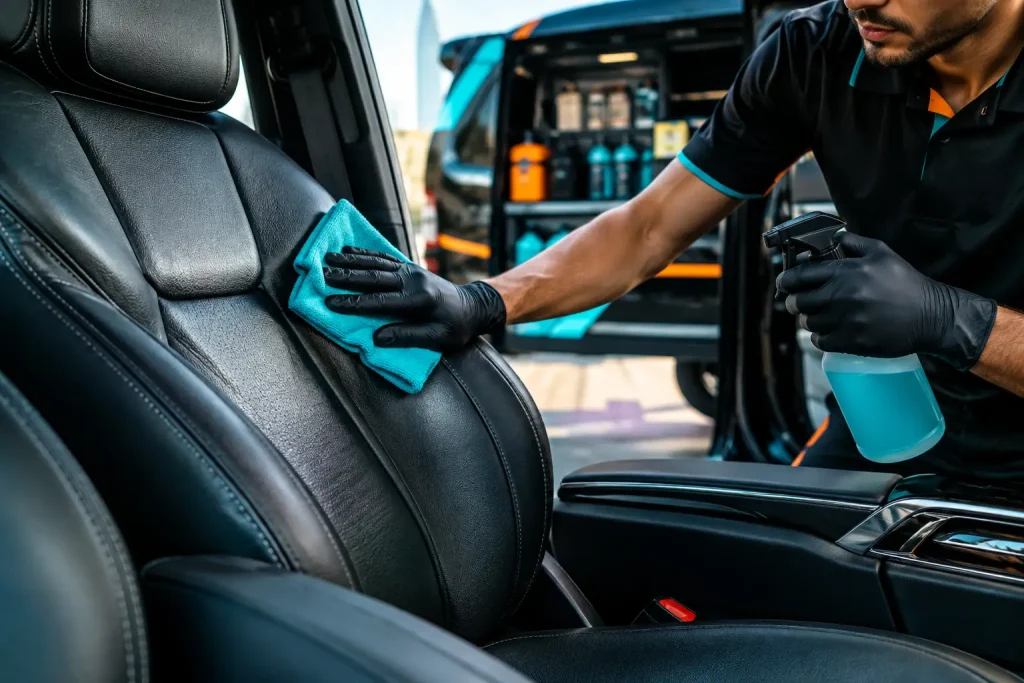
A leather interior should feel refined, not sticky, dull, or marked by the everyday traces of commuting, family trips, and warm weather. Knowing how to clean leather seats properly helps preserve that premium look while protecting the material beneath your hands, clothes, and car seats.
Most modern vehicle leather is coated with a protective finish. That is good news because it makes routine cleaning straightforward. It also means harsh household products, excessive water, and aggressive scrubbing can damage the finish long before the leather itself appears worn.
What You Need Before You Start
The right process does not require a shelf full of products. Start with a vacuum fitted with a soft brush attachment, two or three clean microfiber towels, a soft detailing brush, a pH-balanced leather cleaner, and a leather protectant or conditioner designed for automotive interiors.
Avoid kitchen degreasers, bleach, disinfecting wipes, glass cleaner, dish soap, and products containing strong solvents or alcohol. They may remove visible grime quickly, but they can dry the surface, leave a patchy finish, or weaken the protective coating over time.
If you are unsure what type of upholstery you have, treat it gently. Some seats marketed as leather include synthetic panels, vinyl side bolsters, or coated leather surfaces. A quality automotive interior cleaner is generally the safest choice for mixed materials, but always test any product in a discreet area first.
How to Clean Leather Seats Step by Step
1. Work in a cool, shaded area
Heat is not your friend when cleaning leather. Park in the shade or clean the interior when the seats are cool to the touch. A hot seat can cause cleaning products to dry before you have time to wipe them away, increasing the chance of streaks or residue.
Open the doors for airflow and remove loose items from the cabin. This gives you room to work around the seat edges, seams, and center console without transferring dirt back onto the leather.
2. Vacuum the seats before using cleaner
Vacuuming is the step many people rush, and it is where preventable damage begins. Dust, sand, crumbs, and grit settle into stitching, creases, and the gap between the seat cushion and backrest. If you apply cleaner before removing that debris, rubbing can drag abrasive particles across the surface.
Use a soft brush attachment and light pressure. Pay close attention to perforations, piping, seat controls, headrests, and the lower seat edges near the door. For tight seams, use a soft detailing brush to loosen debris, then vacuum again.
3. Apply cleaner to the towel or brush, not directly to the seat
Spraying a leather cleaner directly onto the seat can oversaturate seams and perforations. It can also allow moisture to reach foam beneath the upholstery, especially on ventilated or perforated seats.
Instead, mist the cleaner onto a microfiber towel or a soft brush. Work on one small section at a time, such as the driver’s seat bolster or the center of the seat cushion. This gives you better control and prevents the cleaner from drying on the surface.
For light dust and body oils, wipe gently with the damp microfiber towel. For more noticeable buildup, use the soft brush in small, controlled circles. There is no need to scrub hard. Let the cleaner loosen the dirt, then lift it away with a separate clean microfiber towel.
4. Focus on the high-contact areas
The dirtiest parts of leather seats are usually not the obvious stains. They are the areas your body touches every day: the driver’s outer bolster, steering-side edge of the seat cushion, armrests, headrest, and seatbelt contact points.
These surfaces collect natural oils, sunscreen, makeup, denim dye, dust, and residue from clothing. Over time, the buildup can make leather look darker or shinier than the surrounding panels. Clean these areas carefully in repeated light passes rather than trying to remove everything with one aggressive pass.
If the towel comes away visibly dirty, switch to a clean side. Reusing a soiled towel simply moves grime across the seat.
5. Treat stains with patience, not force
A fresh spill is easier to manage than a set-in stain. Blot liquids immediately with a clean, dry microfiber towel. Do not rub, as this can spread the stain or push it deeper into seams.
For food marks, light scuffs, or everyday grime, use your leather cleaner and work gradually. Denim transfer often needs more than one gentle cleaning session. Ink, dye transfer, pet accidents, heavy grease, or stubborn discoloration may require professional interior detailing. Strong stain removers can cause more permanent harm than the original mark, particularly on light-colored leather.
6. Wipe away residue and let the seats dry
Once a section is clean, use a fresh dry microfiber towel to remove remaining moisture and cleaner residue. The finish should look clean and even, not wet, slick, or overly shiny.
Leave the doors open for a few minutes if possible. Leather should air dry naturally. Avoid using a heater, hair dryer, or direct sunlight to speed up the process, as rapid heat can dry out the surface and leave inconsistent results.
7. Add protection when the seats are fully dry
A leather protectant helps reduce the impact of UV exposure, body oils, and everyday contact. Depending on the product and your driving habits, it can also make routine cleanup easier. Apply a small amount to a clean applicator or microfiber towel, then spread it in a thin, even layer.
More product is not better. Heavy application can leave the seat slippery, glossy, or tacky. After the protectant has settled according to its instructions, lightly buff with a dry towel for a clean, natural finish.
For most modern coated leather, choose a water-based protectant rather than a heavy oil or wax. Traditional conditioners can be useful on certain older, uncoated leather surfaces, but they are not automatically the right choice for every vehicle.
Special Care for Perforated and Light-Colored Leather
Perforated leather needs a lighter touch. Never flood the surface with cleaner, and do not press a wet brush into the holes. Use minimal product on a microfiber towel, clean across the panel gently, and dry it promptly. This protects the seat foam and electronic ventilation components beneath the upholstery.
White, beige, and cream leather show color transfer and grime sooner than black interiors. That does not mean they need stronger products. It means they benefit from more frequent, gentle maintenance. A quick monthly wipe prevents body oils and denim dye from becoming a larger restoration job later.
How Often Should You Clean Leather Car Seats?
For most vehicles, a light wipe every two to four weeks and a more thorough clean every three to six months is a sensible routine. It depends on how the vehicle is used. A family SUV carrying children, pets, snacks, and sports gear will need attention more often than a weekend vehicle with limited use.
In hot, sunny climates such as Dubai, UV exposure and heat make protection especially worthwhile. Window shades, covered parking, and a quality interior protectant all help reduce fading and premature wear. If sunscreen, sweat, or humid conditions are part of your daily drive, regular cleaning becomes less about appearance alone and more about preserving the finish.
Common Mistakes That Age Leather Early
The biggest mistake is waiting until the seats look dirty. By that point, oils and debris may already be embedded in the surface texture. Another common issue is using one towel for the entire interior. Microfiber towels are effective because they trap dirt, but only while they are clean.
Do not use a magic eraser, stiff brush, or abrasive pad on leather. These can remove the coating and create dull patches that are difficult to correct. Also avoid soaking the seat, especially around seams, switches, and perforations.
Finally, do not judge success by shine. Healthy automotive leather should have a clean, supple, low-sheen finish. A glossy seat may look freshly treated at first, but it can also signal product buildup or an overly oily dressing.
A well-kept leather interior changes the entire feel of a vehicle. A few careful minutes of maintenance protect the surfaces you touch every drive, while professional detailing is there when daily life has left deeper marks that need a proper revival.