

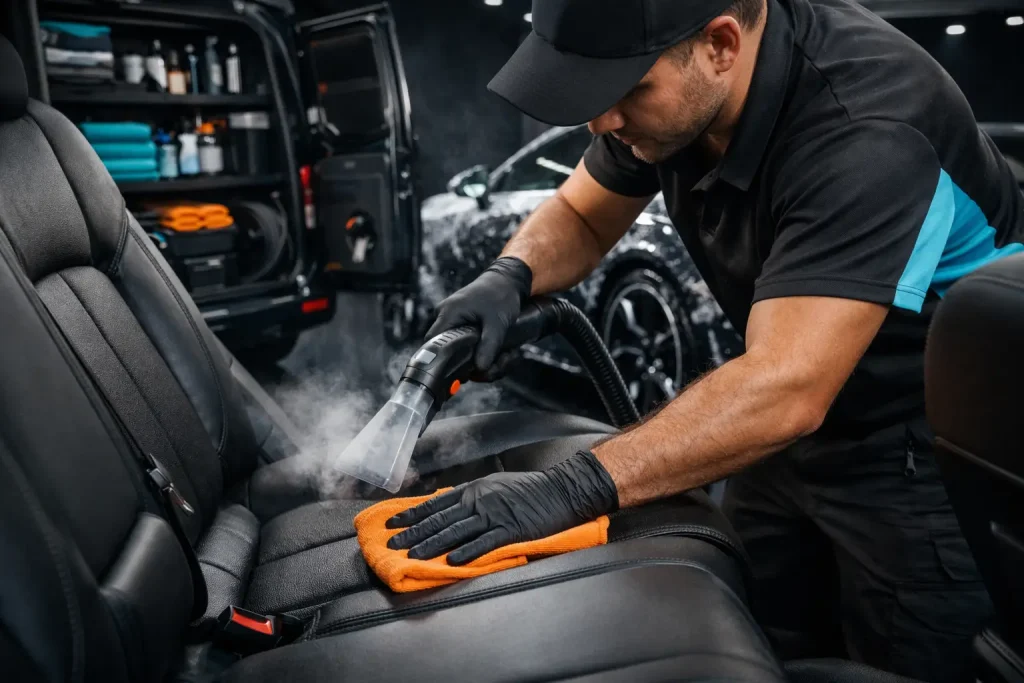
A clean-looking seat is not always a sanitized one. Coffee drips, food crumbs, gym bags, pets, sunscreen, and everyday touch points can leave more behind than visible stains. Knowing how to sanitize car seats properly helps keep your cabin fresher while protecting the materials that give your interior its premium finish.
The key is not using the strongest product available. It is using the right product, in the right amount, with enough drying time. Oversaturating fabric can create lingering odors and mildew risk, while harsh chemicals can dry out leather, fade color, or damage protective coatings.
Clean First, Then Sanitize
Sanitizing works best on a surface that has already been cleaned. Dirt, crumbs, body oils, and sticky residue can prevent a sanitizer from reaching the seat material evenly. Start by removing floor mats, car-seat accessories, and loose items from the cabin so you can access every seam and edge.
Vacuum the seats thoroughly using a soft upholstery attachment. Pay close attention to stitching, seat creases, under headrests, and the gap between the seat base and backrest. These areas collect dust, hair, and food particles quickly, especially in family vehicles.
Once loose debris is gone, treat visible marks with a material-safe cleaner. Work in small sections rather than soaking the entire seat. A microfiber towel or soft interior brush gives you more control than spraying generously across the upholstery.
For everyday maintenance, cleaning and sanitizing the high-contact areas is usually enough. After a spill, illness, pet accident, or a long stretch of heavy use, a more complete interior treatment is worth the extra attention.
Identify Your Seat Material Before You Start
The safest way to sanitize car seats depends on what they are made from. Check your vehicle manual if you are uncertain, particularly if your car has perforated leather, Alcantara-style upholstery, suede, or specialty coated materials.
Fabric and Cloth Seats
Fabric seats hold onto moisture and odors more easily than leather, so use as little liquid as possible. Apply an upholstery-safe sanitizer or cleaner lightly to a microfiber cloth instead of spraying directly onto the seat whenever possible. Wipe the fabric in overlapping sections, then blot with a dry towel.
Avoid soaking the cushion beneath the fabric. The surface may feel clean immediately, but trapped moisture deep in the foam can lead to a musty smell later. Leave doors or windows open in a safe, shaded place and allow the seats to dry completely before use.
Leather and Synthetic Leather Seats
Leather needs a gentler approach. Alcohol-heavy products, bleach, hydrogen peroxide, and household disinfectant wipes may sanitize effectively, but they can strip moisture or weaken the finish if used repeatedly. Even synthetic leather can become dull or brittle with the wrong chemical.
Use a cleaner or sanitizer specifically marked as safe for automotive leather or vinyl. Apply it to a microfiber towel first, wipe lightly, and do not let product sit in perforations or stitching. Follow with a quality leather conditioner once the surface is dry, unless the product instructions state that conditioning is unnecessary.
Suede, Alcantara, and Delicate Trim
These materials require restraint. Excess moisture can leave water marks or change the texture of the fibers. Use a dedicated cleaner for the material, apply it sparingly, and brush gently with a suitable soft brush after it dries. If the seats are heavily stained or have been exposed to illness-related contamination, professional interior care is the safer choice.
A Safe Step-by-Step Sanitizing Routine
For a thorough refresh, gather clean microfiber towels, a vacuum, a material-appropriate interior cleaner, a sanitizer approved for automotive upholstery, and a soft brush if needed. Test every product on a small hidden area first, such as the lower side of a seat.
- Vacuum all seating surfaces, seams, seatbelt buckles, and the spaces around the rails.
- Clean visible soil, stains, and oily residue with the correct product for your upholstery.
- Apply sanitizer lightly and evenly. Follow the label directions, especially the required contact time before wiping.
- Wipe excess moisture with a fresh, dry microfiber towel. Do not scrub leather aggressively or flood cloth seats.
- Let the interior air dry fully before closing the vehicle for an extended period.
Do not forget the areas that hands touch constantly: seatbelt webbing, buckle buttons, headrest adjustment points, door pulls, armrests, and child-seat anchor covers. These are separate materials from the seats themselves, so use a compatible interior sanitizer and avoid spraying electronics, switches, or sensors directly.
What Not to Use on Car Seats
The urge to disinfect quickly can lead to costly mistakes. Bleach is too aggressive for most automotive interiors and can discolor fabric, damage stitching, and degrade leather. Strong all-purpose household cleaners are also a poor fit because they may leave residue or cause surfaces to feel sticky.
Steam is another product-dependent decision. It can be effective on durable fabric upholstery when used carefully, but too much heat or moisture may loosen adhesives, affect seat foam, or damage leather and delicate trims. It should never be directed at electronic seat controls, airbag seams, or perforated leather for prolonged periods.
Fragrance sprays deserve caution as well. They can mask odors temporarily without removing the source. If the cabin smells sour, musty, or stale after sanitizing, inspect for damp carpet, spilled liquids beneath the seats, a dirty cabin air filter, or moisture in the trunk.
How Often Should You Sanitize Your Car Seats?
For most drivers, a light sanitizing treatment every few weeks is sufficient, paired with regular vacuuming and prompt spill cleanup. Families with young children, pet owners, rideshare drivers, and anyone who eats frequently in the vehicle may benefit from weekly attention to high-contact surfaces and monthly deep interior care.
Frequency also depends on Dubai conditions. Fine dust can find its way into the cabin quickly, while heat can intensify lingering food, sweat, or pet odors. Keeping windows closed during dusty conditions and using clean microfiber towels instead of reused rags makes a noticeable difference.
A vehicle that is rarely used still needs occasional interior care. Stagnant air and trapped moisture can create unpleasant odors even when the seats look untouched. Run the air conditioning periodically, remove food items, and air out the cabin when appropriate.
When Professional Sanitizing Makes More Sense
DIY care is ideal for routine maintenance, but some situations call for trained hands and professional equipment. Deep stains, vomit, urine, mold concerns, smoke odor, and heavily soiled family vehicles often need more than a surface wipe. The goal is to treat the contamination at its source without damaging the upholstery or leaving excess moisture behind.
A professional interior detail can combine controlled cleaning, targeted stain treatment, upholstery-safe sanitizing, and odor management across the seats, carpets, trim, and touch points. This is especially valuable before selling your car, after a road trip, or when returning a vehicle to a cleaner standard after months of busy family use.
For drivers who want that level of care without giving up a weekend, Ride Revivers brings premium interior treatment directly to your doorstep. The result should feel more than freshly washed: it should feel comfortable to step back into.
Keep a small microfiber cloth and a material-safe interior cleaner in your vehicle, handle spills before they set, and make sanitizing part of your regular care routine. Your seats will stay cleaner, your cabin will smell better, and every drive will start with a more polished feeling.