

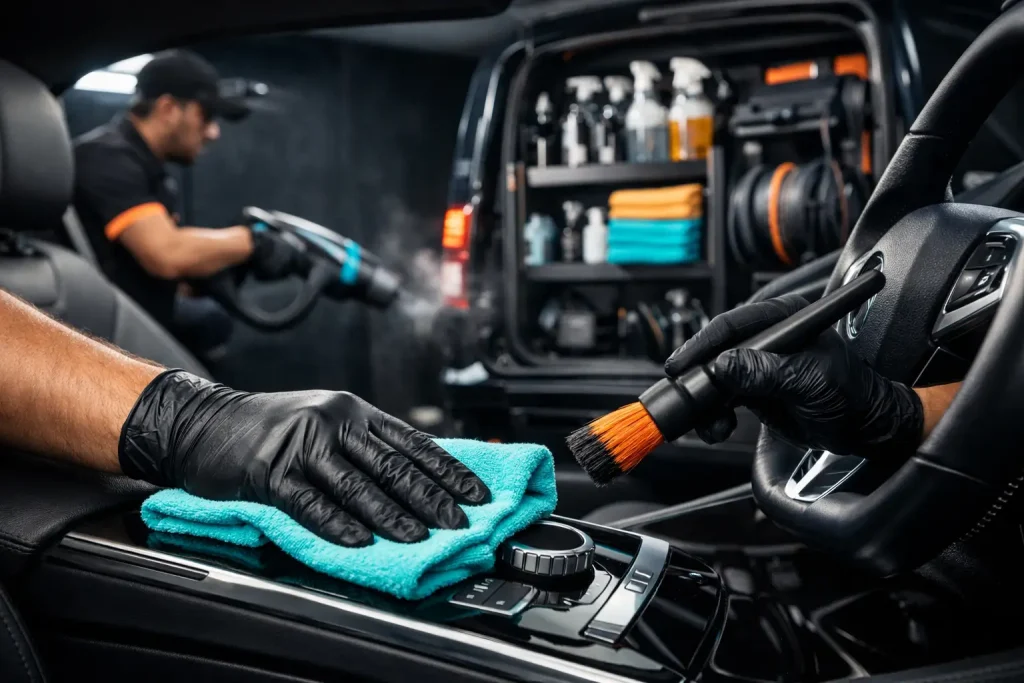
A clean cabin changes the way every drive feels. This interior detailing checklist guide focuses on the areas that collect the most dust, sand, fingerprints, spills, and odors – then treats them in the right order for a genuinely revived result. Whether your vehicle carries family passengers, business clients, pets, or the daily rush of city life, interior care is about more than making the seats look presentable.
Why Interior Detailing Needs More Than a Quick Vacuum
A standard vacuum removes visible crumbs, but premium interior detailing goes further. Fine dust settles into vents and stitching, oils build up on touchpoints, and moisture trapped beneath mats can create odors before you notice a problem. In Dubai, sand also finds its way into carpet fibers, door pockets, seat rails, and the smallest gaps around the console.
The goal is not to soak every surface or leave behind an overpowering fragrance. It is to clean each material safely, restore the cabin’s fresh appearance, and protect the finishes you touch every day. Leather, fabric, piano-black trim, screens, and headliners all need different levels of care. One aggressive cleaner or overly wet towel can turn a simple refresh into an expensive repair.
Interior Detailing Checklist Guide: The Right Order
Detailing in the right sequence prevents dirt from moving back onto already-clean surfaces. Begin by removing loose items and working from high areas to low areas. Leave the carpets and floor mats until near the end, when the rest of the cabin is free of falling dust.
A professional-grade interior detail should cover these essential steps:
- Remove personal items, empty door pockets and cup holders, and inspect the cabin for stains, damage, and lost items.
- Vacuum seats, carpets, floor mats, trunk areas, seat creases, pedal zones, and narrow spaces around rails and consoles.
- Clean vents, dashboard seams, controls, steering wheel, stalks, handles, switches, and other high-touch surfaces.
- Treat seats according to their material, whether leather, fabric, suede-style upholstery, or vinyl.
- Clean interior glass without leaving haze, streaks, or residue near the edges.
- Refresh carpets and mats, including targeted stain treatment and odor-focused cleaning where needed.
- Wipe door jambs, door panels, console storage areas, and the trunk lip for a complete finished appearance.
- Apply suitable protection to leather, vinyl, plastic, and rubber surfaces, then perform a final inspection under good lighting.
This order keeps the work efficient while delivering the detail people notice: clean touchpoints, clear glass, fresh seats, and floors that look cared for rather than simply vacuumed.
Start With a Cabin Reset
Before cleaning begins, take out umbrellas, bottles, charging cables, children’s items, and anything stored beneath the seats. This small step matters because a detailer cannot properly clean around clutter. It also makes it easier to identify a stain, a broken trim piece, or a missing item before work starts.
Floor mats should come out early. Shake away loose debris away from the vehicle, then vacuum both sides. Rubber mats can usually be washed and dried separately. Carpet mats need more restraint, especially if they cannot dry fully before being placed back in the vehicle.
Vacuum Slowly, Not Just Thoroughly
The best vacuuming is methodical. Use crevice attachments around seat tracks, buckles, console edges, and door storage pockets. Move seats forward and backward to reach the areas most often missed. For fabric upholstery, work across the fibers rather than making quick passes over the top.
Pet hair, beach sand, and embedded crumbs may require brushes or specialized tools before vacuuming. Trying to force every problem through a vacuum nozzle can damage delicate materials or leave the cabin looking only half-finished.
Treat Every Interior Surface for Its Material
A premium result comes from matching the product and technique to the surface. Interior materials may look similar, but they do not react the same way to moisture, friction, or chemical cleaners.
Leather and Leatherette Seats
Leather needs gentle cleaning before conditioning or protection. Dirt and body oils can make a seat feel slick and look shiny, especially on the driver’s side bolsters and steering wheel. That shine is not always a sign of healthy leather. Often, it is buildup.
Use a pH-balanced cleaner with a soft brush or microfiber towel, working one small section at a time. Avoid saturating perforated leather or allowing product to settle into seams. After cleaning, apply a non-greasy protectant that helps preserve the material without creating a slippery finish.
Leatherette and vinyl are more forgiving, but they still benefit from a low-residue cleaner. Harsh degreasers can dry out the surface or leave blotchy patches.
Fabric Seats and Carpets
Fabric holds stains below the surface, so heavy scrubbing is rarely the best answer. First identify the stain. Coffee, food oils, makeup, ink, and pet accidents all need a different approach. A mild cleaner and controlled extraction can lift contamination without over-wetting the padding.
Too much moisture is a common mistake. If seats or carpets remain damp, odors can return quickly and drying time becomes inconvenient. This is one reason professional detailing is valuable: the process should leave interiors clean, fresh, and ready to use, not wet for the rest of the day.
Dashboards, Screens, and Gloss Trim
Dashboard cleaning should leave a natural, refined finish. A greasy dashboard may look shiny for a moment, but it attracts dust and can reflect harshly on the windshield. Use a soft detailing brush for seams and vents, followed by a clean microfiber towel to remove residue.
Touchscreens and instrument displays need special care. Spray cleaner onto the towel, never directly onto the screen, and use minimal pressure. Gloss-black trim scratches easily, so it should be wiped with a clean, plush microfiber rather than a towel that has already touched dusty areas.
Do Not Skip the High-Touch Zones
The most-used surfaces often hold the most invisible buildup. The steering wheel, gear selector, start button, window switches, door handles, armrests, seat belt buckles, and infotainment controls all deserve focused cleaning.
This is where a car can feel newly revived even when the upholstery is already in good shape. Clean touchpoints make the cabin feel more polished, while also reducing the residue left behind by sunscreen, hand creams, food, and daily use.
Air vents deserve attention as well. Dusty vents are visible in direct sunlight and can distribute fine particles when the AC starts. A soft brush and controlled vacuuming are safer than forcing liquid cleaner deep into the vent system.
Fresh Air Requires Odor Treatment, Not Just Fragrance
A fragrance can mask an odor briefly, but it cannot solve the source. Persistent smells often come from damp floor mats, spilled drinks, food under a seat, pet hair, or residue in the air-conditioning system. The correct treatment depends on the cause.
For a mild odor, cleaning the carpets, seats, and high-touch areas may be enough. For recurring odors, inspect hidden areas such as the trunk, spare-tire compartment, and beneath the rear seats. If moisture is involved, the area must be properly dried before any deodorizing treatment can last.
A premium interior should smell neutral and clean, not heavily perfumed. That is especially valuable for families, ride-sharing drivers, and anyone sensitive to strong scents.
How Often Should You Detail Your Interior?
The right schedule depends on how the vehicle is used. A lightly used weekend car may only need a deep interior detail every few months. A family SUV, daily commuter, pet-friendly vehicle, or car regularly exposed to sand may need more frequent attention.
Between professional appointments, remove trash promptly, shake out mats weekly, and wipe spills before they set. Keep a microfiber towel in the vehicle for quick touch-ups, but avoid using household wipes on leather, screens, or gloss trim. They can leave residue or damage protective finishes over time.
For owners who value consistency without losing a weekend to vehicle care, doorstep service makes regular maintenance far easier to keep up with. Ride Revivers brings trained care and premium interior treatment to your location, so your cabin can receive the attention it needs while your schedule stays intact.
A vehicle’s interior is where your day actually happens. Keep it clean enough to welcome a client, comfortable enough for family, and protected enough to look exceptional long after the first drive.